- Joined
- Apr 1, 2023
- Messages
- 6,382
- Reaction score
- 36,112
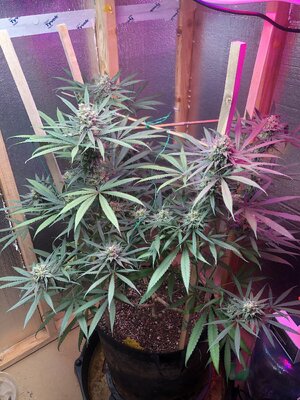
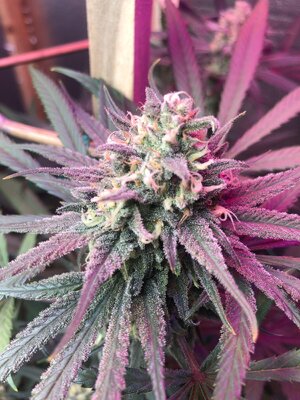
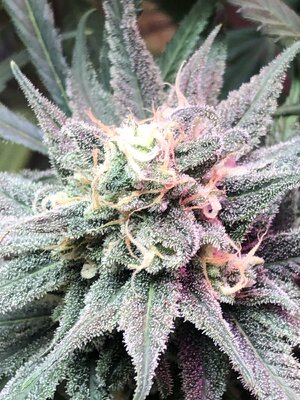
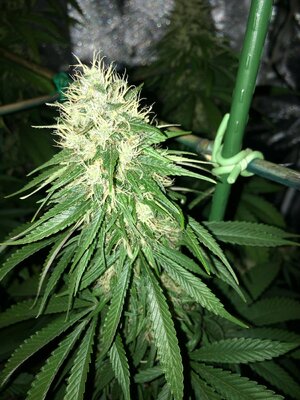
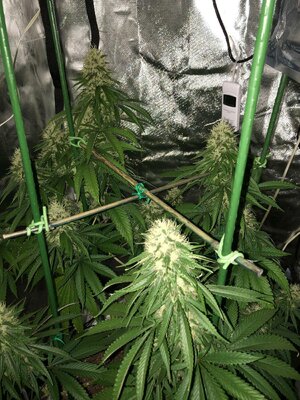
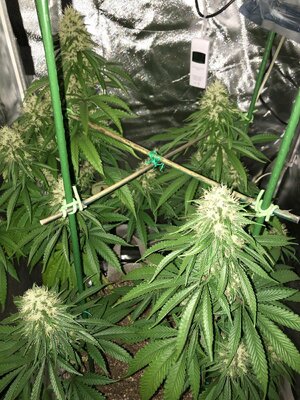
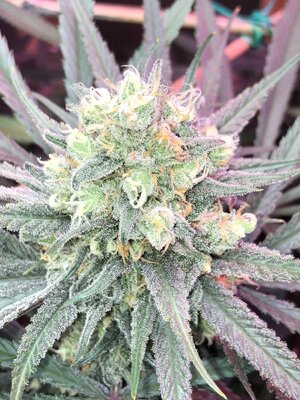
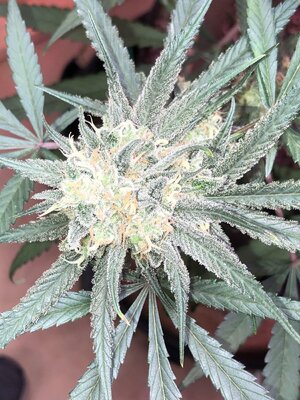
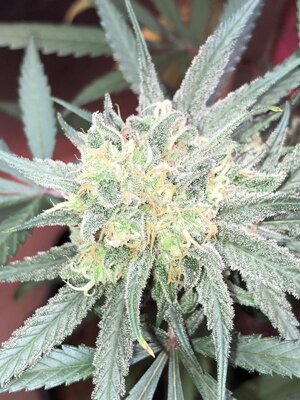
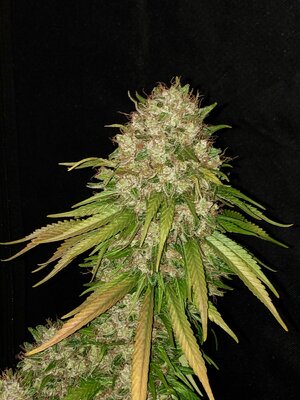
The Importance of Chitin
Closely related to cellulose, chitin is a naturally occurring molecule that is found in the shells of crustaceans like lobsters and crabs, as well as the exoskeletons of insects. In many cases, it is also found in algae and yeast. Chitin’s benefit to plants is that it causes them to be fortified from their cell walls out.When used in fertilizer, chitin triggers the immune systems of plants. Thus, causing them to rev up and defend themselves against predators like root-feeding nematodes and disease pathogens in the soil. The presence of chitin triggers plants to think that insects are eating them. Thus, causing them to build up their cell walls and release natural insect toxins as a defense.
Though chitin doesn’t act as a pesticide, its presence prepares plants to better withstand a pest-filled onslaught, should one come.
Taken from ; https://growingorganic.com/soil-gui...ly from plants that herbivore insects chew up.