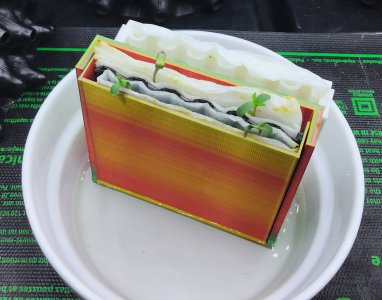
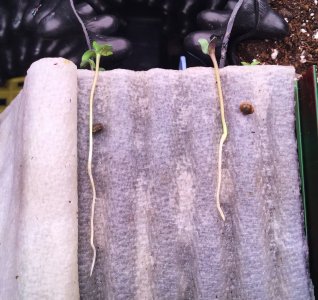
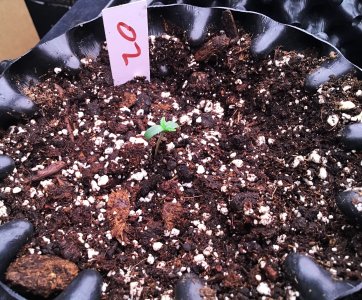
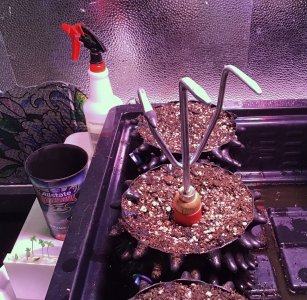
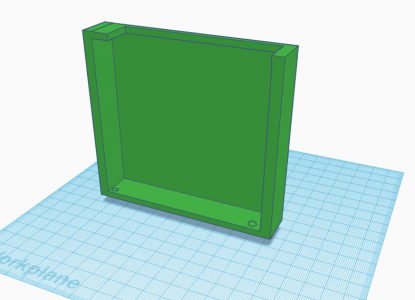
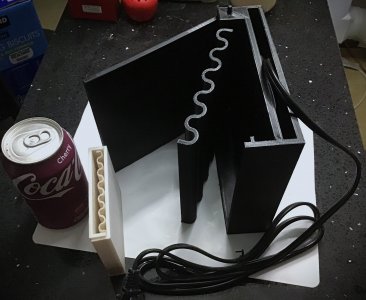
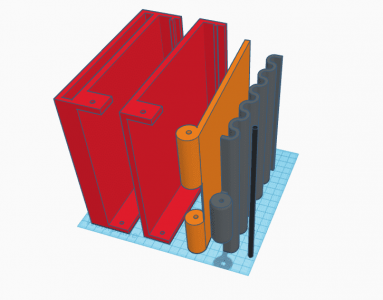
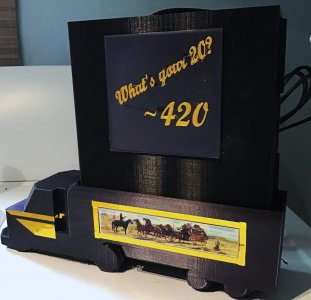
yeah, ready for print?!?!?! i found out it was much easier to just redraw the panels so i could manipulate the sizes easier. i didn't realize when you copied a drawing it doesn't give you the previous layers. here i told zen to go back on my rez and that isn't even possible.. learn something new everyday.
I changed the position of the center piece for clearance and that made it stick up. the ez way would have been to shorten it but i didn't want to make it smaller so i made the body and cover a little taller. if i remember correctly it was 5mm so the overall height went up. i wasn't sure if you made this so you could print it on you smaller printer too, so if this is a deal breaker let me know we can adjust.
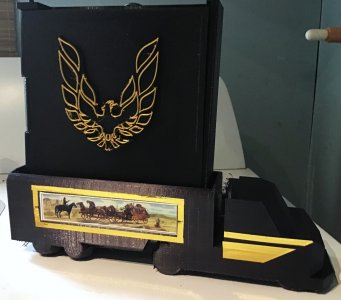
so since you won't see old layers anyway then here use these links.. i suggest the special bandit base

3D design smokey and the bandit II special created by Stoneyluv with Tinkercad

www.tinkercad.com
OR
3D design stoney and the bandit II created by Stoneyluv with Tinkercad

www.tinkercad.com
and
3D design stoney and the bandit created by Stoneyluv with Tinkercad

www.tinkercad.com
here is your wavy piece..
3D design smokey and the bandit III created by Stoneyluv with Tinkercad

www.tinkercad.com
and this is mine, a little thinner and prints in an hour...
3D design stoney and the bandit III created by Stoneyluv with Tinkercad

www.tinkercad.com
you can compile them all in one design then in your profile and link it from there. everything on my profile that is smokey and the bandit are your parts with nubs and holes and nothing else changed, everything that is stoney and the bandit is your design cleaned up a tad and tolerances and sizes changed a little. all the parts are mix and match plug and play with each other though. minus your original body and cover are still the shorter size in case you wanted it 100mm max.
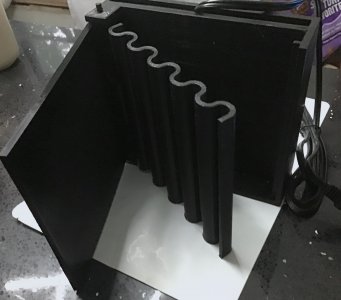
it assembles easiest if you insert the center piece into the cover first then put that assembly into the base. i had to clean up my holes a little with a xacto knife from the petg sagging a hair. the more you waller out the hole the looser and freer the parts will be. the nubs are 4mm and the holes are 4.20mm so they fit kinda tight to start.
View attachment 16023
also, here is a new copy of my rez. i made it bigger to fit the new size and used
@Zen_seeker suggestions on the feet...
3D design rez germ v3 created by Stoneyluv with Tinkercad

www.tinkercad.com
you guys are right, thanks for the reminder. when i started used one every time till i got the hang of it. i never used a full raft though, just a simpleraft but yeah perfect solution and i'm using it right now for a prototype on my wavy piece.
but.... BUT.....
when i printed it out flat and left the bed texture on the pieces, look what happens....
View attachment 16025
might be worth printing flat.... i know any i print will be!!

.
.
thanks again guys for the raft idea, best looking center section i printed so far...
View attachment 16026


www.tinkercad.com

www.tinkercad.com

www.tinkercad.com

www.tinkercad.com

www.tinkercad.com

www.tinkercad.com


